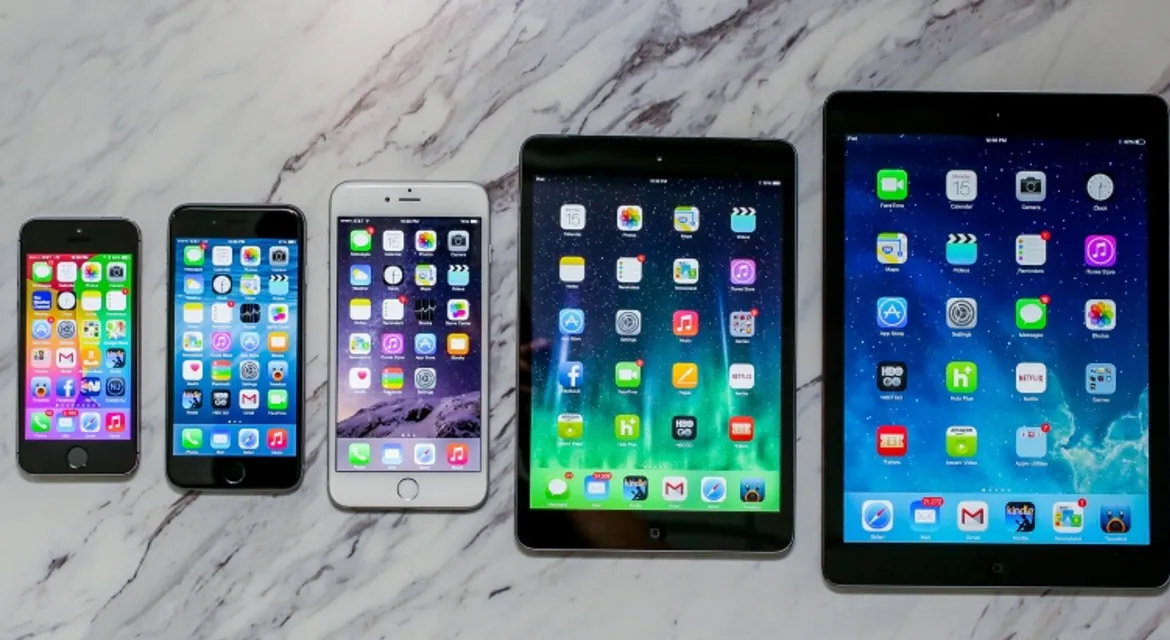
The main differences between iPhone and iPad screens lie in their sizes, resolutions, and the way they are built. Here's a breakdown of these differences and the best practices for opening an iPad screen:
Differences Between iPhone and iPad Screens:
1. Size: The most obvious difference is the size. iPhones typically have smaller screens, ranging from around 4.7 to 6.7 inches diagonally (as of my last update in September 2021), whereas iPads come in various sizes, starting from the standard 9.7-inch display and going up to 12.9 inches (iPad Pro).
2. Resolution: iPads have a higher resolution due to their larger size. This means that iPads generally have a crisper display compared to iPhones, especially when viewing content in larger formats.
3. Aspect Ratio: iPhones and iPads have different aspect ratios. iPhones typically have a taller, narrower aspect ratio, while iPads have a more squarish or 4:3 aspect ratio. This affects how content is displayed on the screen.
4. Touch ID/Face ID: Most modern iPhones come with Face ID or Touch ID (fingerprint recognition) for security, while iPads have also started incorporating these features. The integration of these biometric technologies differs slightly due to the size and orientation of the devices.
Best Practices to Open an iPad Screen:
Opening an iPad screen requires careful handling to avoid damaging the delicate components. Here are some best practices:
1. Power Off the Device: Before attempting to open the iPad, ensure it's powered off completely to prevent any electrical hazards.
2. Tools: Use the right tools, such as a heat gun, plastic prying tools, suction cups, and screwdrivers compatible with the specific screws used in your iPad model. Using proper tools prevents unnecessary damage.
3. Heat the Edges: Use a heat gun to warm the edges of the iPad. This softens the adhesive holding the screen, making it easier to pry open. Be cautious not to overheat, as excessive heat can damage internal components.
4. Prying Open: Start by using plastic prying tools to create a gap between the iPad's frame and the screen. Work your way around the edges, gently applying pressure to separate the adhesive. Take your time and be patient, ensuring you don’t force or rush the process.
5. Mind the Ribbon Cables: Inside the iPad, there are delicate ribbon cables connecting the screen to the logic board. When opening the device, be careful not to tug or damage these cables. They are sensitive and can easily tear.
6. Organize Screws: If you need to remove screws during the process, keep them organized. Screws can be tiny and easily lost, so placing them in an organized manner ensures you can reassemble the device correctly.
7. Work in a Clean Environment: Dust and debris can enter the iPad during the opening process, potentially causing further issues. Work in a clean, well-lit area to minimize this risk.
8. Consider Professional Help: If you're not confident in your skills, it's wise to seek assistance from a professional technician or repair service. iPads are intricate devices, and improper handling can lead to costly damages.
Remember, if you are uncertain at any point, it's better to seek professional assistance rather than risking damage to your iPad.


