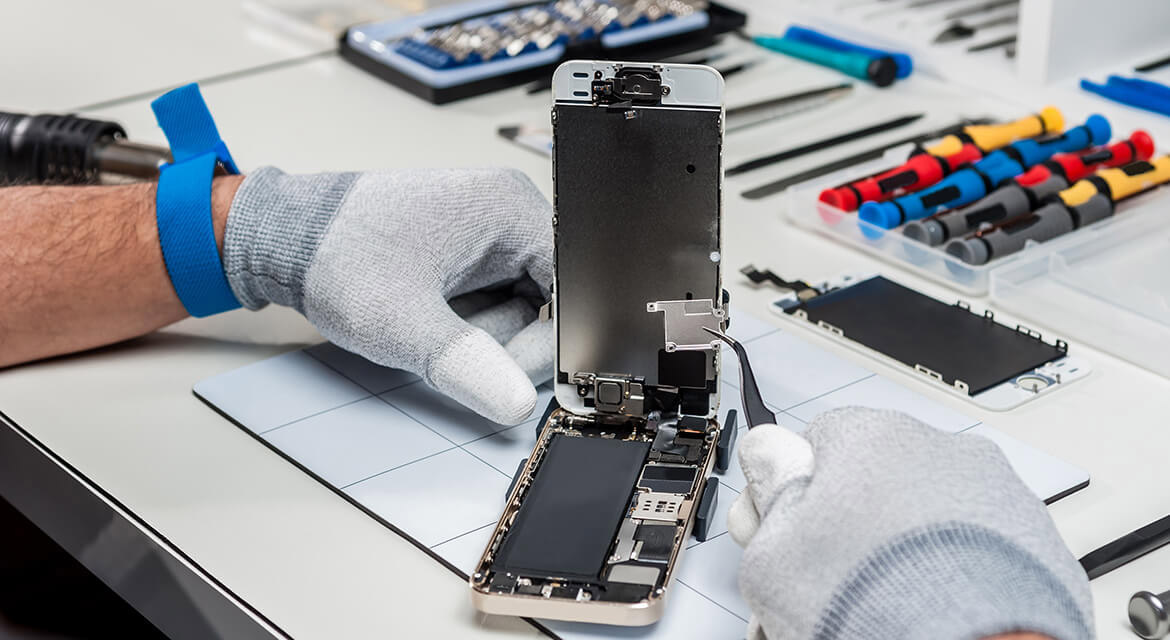
Removing an iPhone screen can be a delicate process that requires patience, precision, and the right tools. Here's a step-by-step guide on how to safely remove an iPhone screen:
1. Gather the Necessary Tools:
- Pentalobe screwdriver (to remove screws)
- Phillips screwdriver (if applicable)
- Plastic prying tools or spudger
- Suction cup
- Heat gun or hairdryer (to soften adhesive)
- Isopropyl alcohol (for cleaning)
- Microfiber cloth
- ESD-safe tools (to prevent electrostatic discharge)
2. Power Off the iPhone: Ensure your iPhone is completely powered off before you begin the process.
3. Remove External Screws: Use the appropriate screwdriver (usually a Pentalobe screwdriver) to remove the screws around the edges of the iPhone. Keep these screws organized and separated, as they can vary in size.
4. Apply Heat: Use a heat gun or a hairdryer to warm up the edges of the iPhone. Be cautious not to overheat the device. Heating the adhesive helps in softening it, making it easier to pry open the phone.
5. Use a Suction Cup: Place a suction cup near the home button or the bottom edge of the iPhone. Gently pull on the suction cup to create a small gap between the screen and the frame.
6. Insert Prying Tools: Insert plastic prying tools or a spudger into the gap you created with the suction cup. Be gentle and patient, and work your way around the edges of the iPhone, gradually releasing the clips that hold the screen in place.
7. Be Mindful of Cables: As you lift the screen, be cautious of the cables that connect the screen to the iPhone's motherboard. Do not yank the screen away abruptly. Instead, open the phone carefully, allowing access to the internal components.
8. Disconnect the Battery: Before continuing, disconnect the battery to ensure there is no power running through the device. This step is crucial for your safety and the safety of the iPhone.
9. Remove Additional Screws and Components: Depending on the iPhone model, you may need to remove additional screws or components to access the screen assembly fully. Follow the appropriate guides for your specific iPhone model.
10. Clean and Replace: Clean the internal components, screen, and frame with a microfiber cloth and isopropyl alcohol. Once cleaned, you can install the new screen following the reverse of the steps you used to remove the old one.
11. Test Before Final Assembly: Before you fully reassemble the iPhone, test the new screen to ensure it functions correctly. If everything is working fine, proceed with the final assembly by reversing the steps you took to disassemble the device.
Remember, if you're not confident about the process or lack experience, it's best to seek assistance from a professional technician or a repair service to avoid accidental damage to your iPhone.


