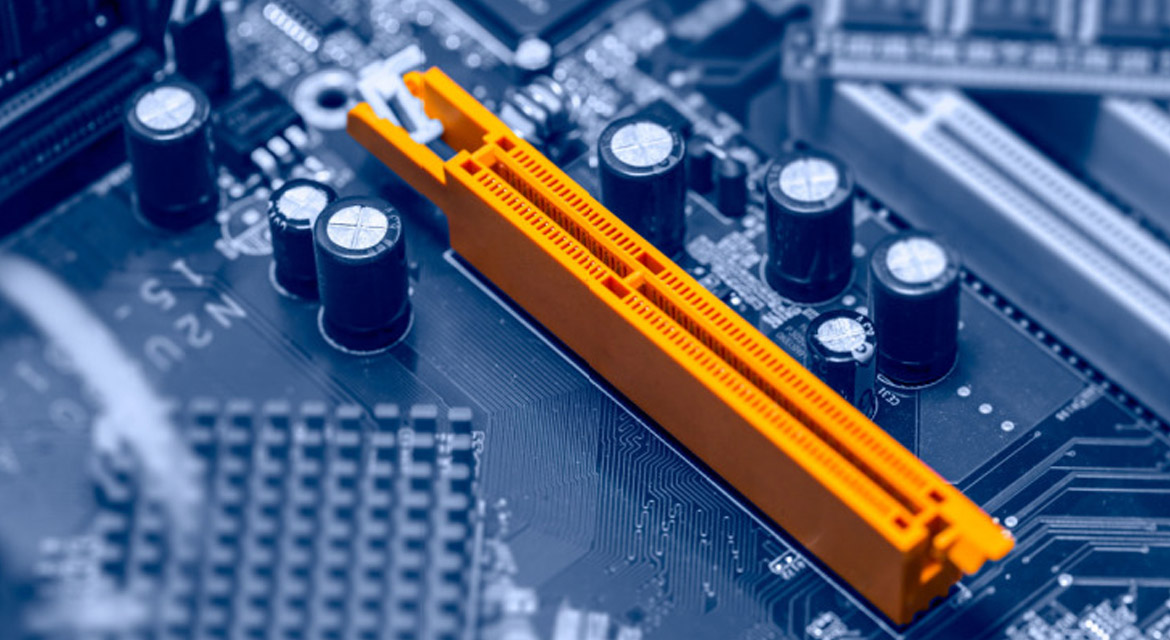
Installing RAM, a VGA card (or other expansion cards), and other components on a motherboard is a crucial part of building or upgrading a computer. Following the correct procedure ensures proper installation and minimizes the risk of damage. Here's a step-by-step guide for each of these components:
1. Installing RAM (Random Access Memory):
a. Prepare: Ensure you have the correct type of RAM for your motherboard (e.g., DDR4, DDR3). Check your motherboard's manual for the specific RAM slot configuration.
b. Power Off and Disconnect: Turn off your computer and unplug it from the power source. This is a critical safety step.
c. Open the Computer Case: Depending on your computer case, you may need to remove a side panel to access the motherboard.
d. Locate RAM Slots: Identify the RAM slots on your motherboard. Most motherboards have two or four slots, and they are often color-coded.
e. Unlock RAM Slots: On most motherboards, there are tabs or levers at either end of the RAM slots. Push or slide these tabs outward to unlock the slots.
f. Insert RAM Modules: Align the notches on the RAM module with those on the RAM slot. Push down evenly on both ends of the module until the tabs or levers click into place, securing the RAM in the slot.
g. Verify Installation: Ensure the RAM module is firmly seated in the slot. The retention tabs should be fully engaged.
h. Close Computer Case: Replace the side panel and secure it in place.
2. Installing a VGA Card (or Other Expansion Cards):
a. Prepare: Choose a compatible VGA card or expansion card for your motherboard and ensure you have the necessary drivers.
b. Power Off and Disconnect: Turn off your computer and unplug it from the power source.
c. Open the Computer Case: Access the motherboard by removing the appropriate side panel on your computer case.
d. Locate PCIe Slots: Identify the PCIe (Peripheral Component Interconnect Express) slots on the motherboard. These slots are where you'll install expansion cards like a VGA card.
e. Unlock PCIe Slot: Some PCIe slots may have a retention clip or latch. Unlock it by pushing or sliding it away from the slot.
f. Insert the Card: Carefully align the VGA card (or other expansion card) with the PCIe slot. Gently push down on the card until it is securely seated in the slot.
g. Secure the Card: Depending on the card and motherboard, you may need to use screws or other retention mechanisms to secure the card in place.
h. Connect Power Cables: If the card requires additional power, connect the necessary power cables from the power supply to the card.
i. Replace Computer Case Panel: Close the computer case and secure the side panel.
3. Installing Other Motherboard Cards:
The process for installing other motherboard cards (e.g., sound cards, network cards, Wi-Fi cards) is similar to installing a VGA card. Follow the same steps, making sure to:
- Choose compatible cards for your motherboard.
- Power off and disconnect your computer.
- Open the computer case to access the motherboard.
- Locate and unlock the appropriate PCIe or other card slots.
- Carefully insert the card and secure it in place.
- Connect any necessary power cables.
- Replace the computer case panel.
Always consult your motherboard's manual for specific instructions and compatibility information. Take anti-static precautions, such as wearing an anti-static wrist strap, when handling computer components to prevent electrostatic discharge that could damage sensitive electronics.


